
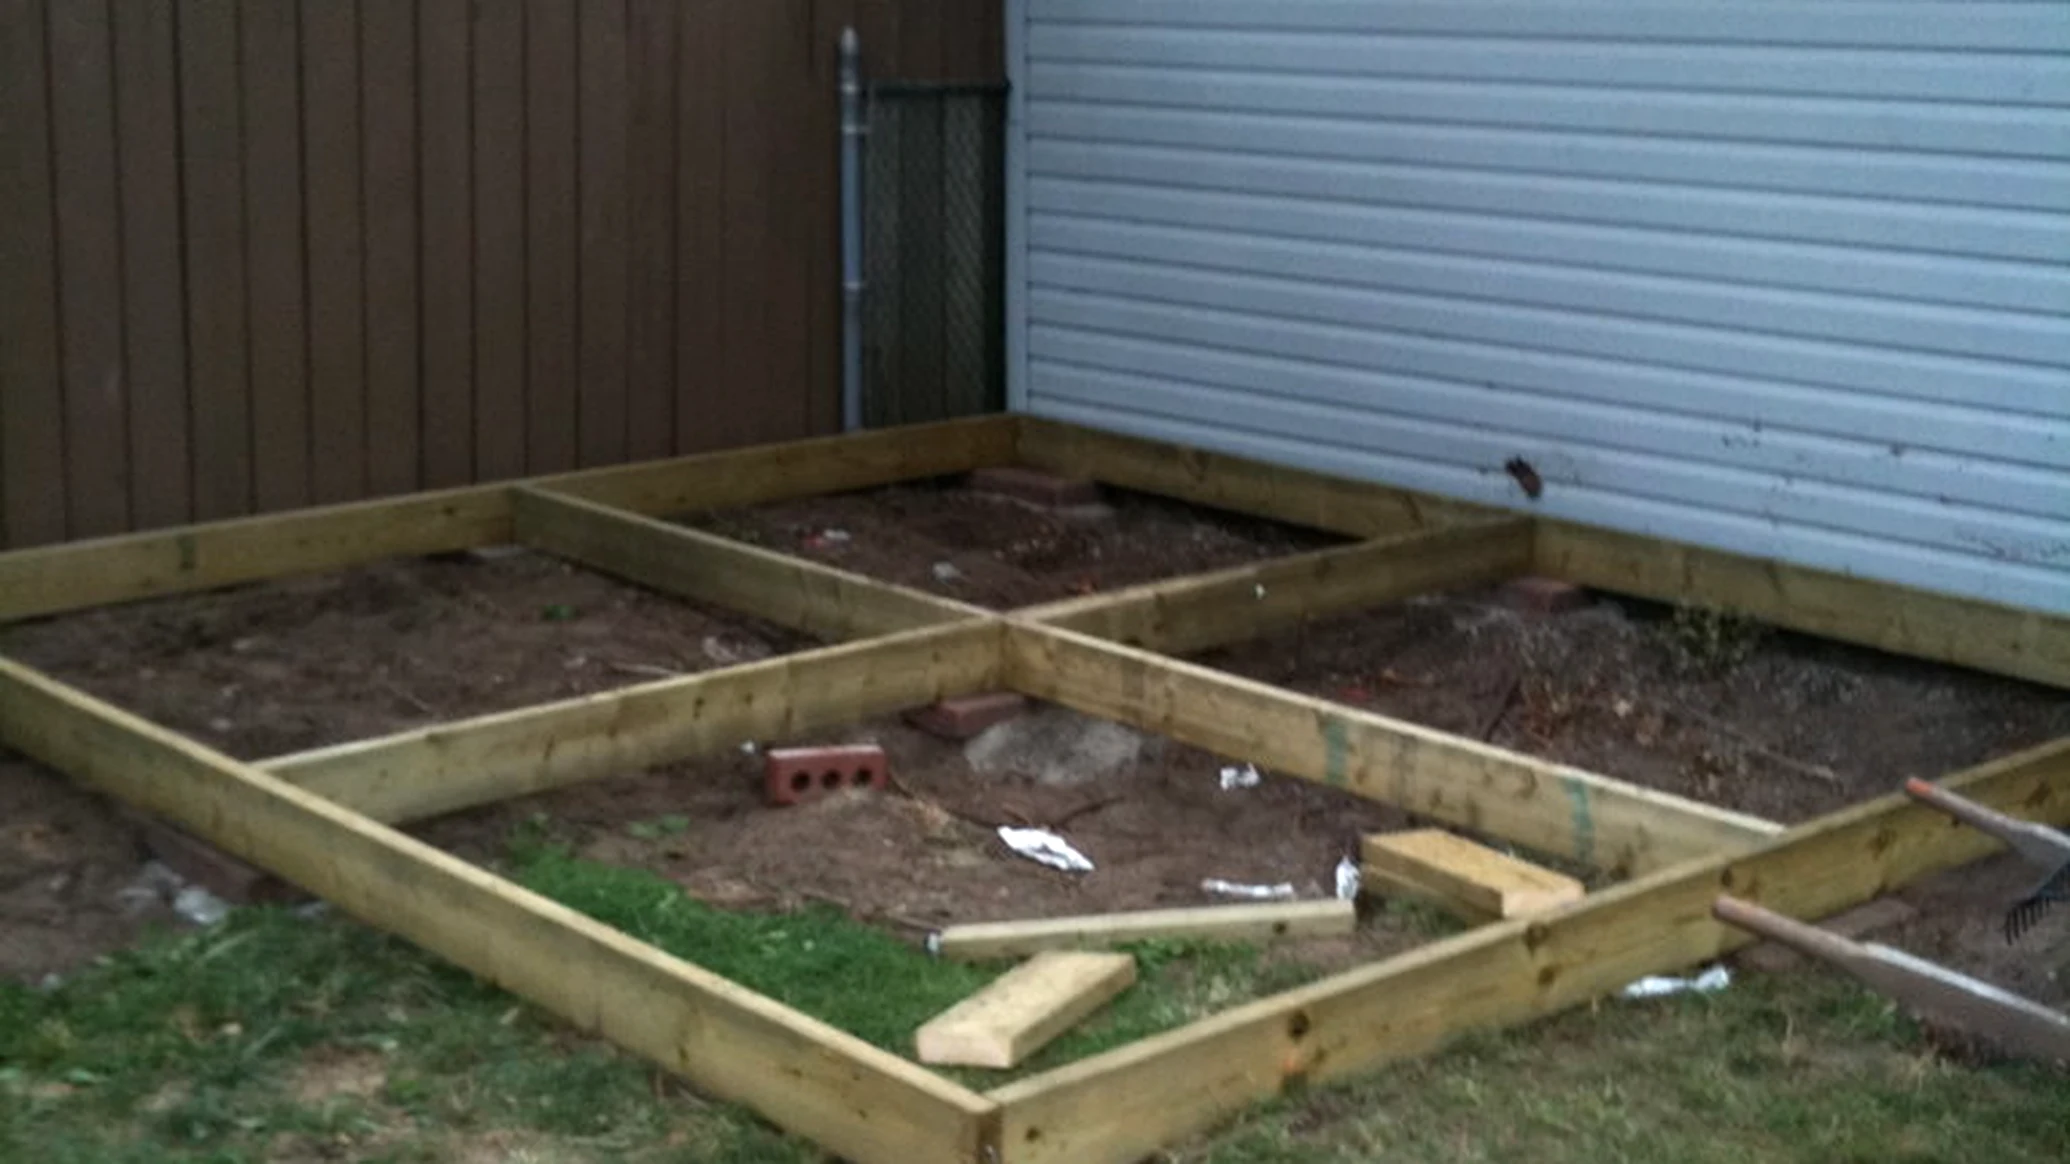
Deck failures rarely announce themselves. The boards you walk on are the part you can see, and they are almost never what gives way — the failures that hurt people happen at the ledger board where the deck attaches to the house, at posts rotting quietly at ground level, and at fasteners that have been corroding inside the wood for a decade. Ontario is hard on all three: freeze-thaw cycling drives water deep into end grain, snow sits against framing for months, and road salt tracked onto stairs accelerates corrosion. This checklist walks the same eight points we inspect before quoting any restoration, in the order that matters, so you can tell the difference between a deck that needs a coat of stain and one that needs a carpenter.
Quick Answer: The Eight Points to Check
A thorough deck inspection takes about thirty minutes and needs two tools: a flashlight and a flat-head screwdriver. Check, in this order: the ledger board where the deck meets the house, posts at ground level, beams and joists, joist hangers and fasteners, stair stringers, railings and guards, the board surface and end grain, and anywhere water sits — under planters, beneath a hot tub, below a downspout.
The ledger board comes first for a reason. It is the most common cause of catastrophic deck collapse, and it is the point where a failure drops the entire structure at once rather than putting one foot through one board.
Where Decks Actually Fail
The intuition that a deck is unsafe when the walking surface feels soft is backwards. Surface boards are replaceable, visible, and cheap. The structure underneath is none of those things, and it is where the risk lives.
Rot needs three things: moisture, oxygen, and time. Ontario supplies all three generously. Water gets into end grain — the cut ends of boards and posts, where wood absorbs many times faster than through its faces — and freeze-thaw cycling then pumps it deeper as it expands and contracts. Snow banked against a rim joist keeps that area damp for months at a stretch. Any spot that stays wet longer than it stays dry is a candidate.
The second failure mode is metal, not wood. Fasteners corrode, especially where salt is involved, and a corroded fastener can look sound from outside while having lost most of its cross-section inside the board.
1. The Ledger Board (Start Here)
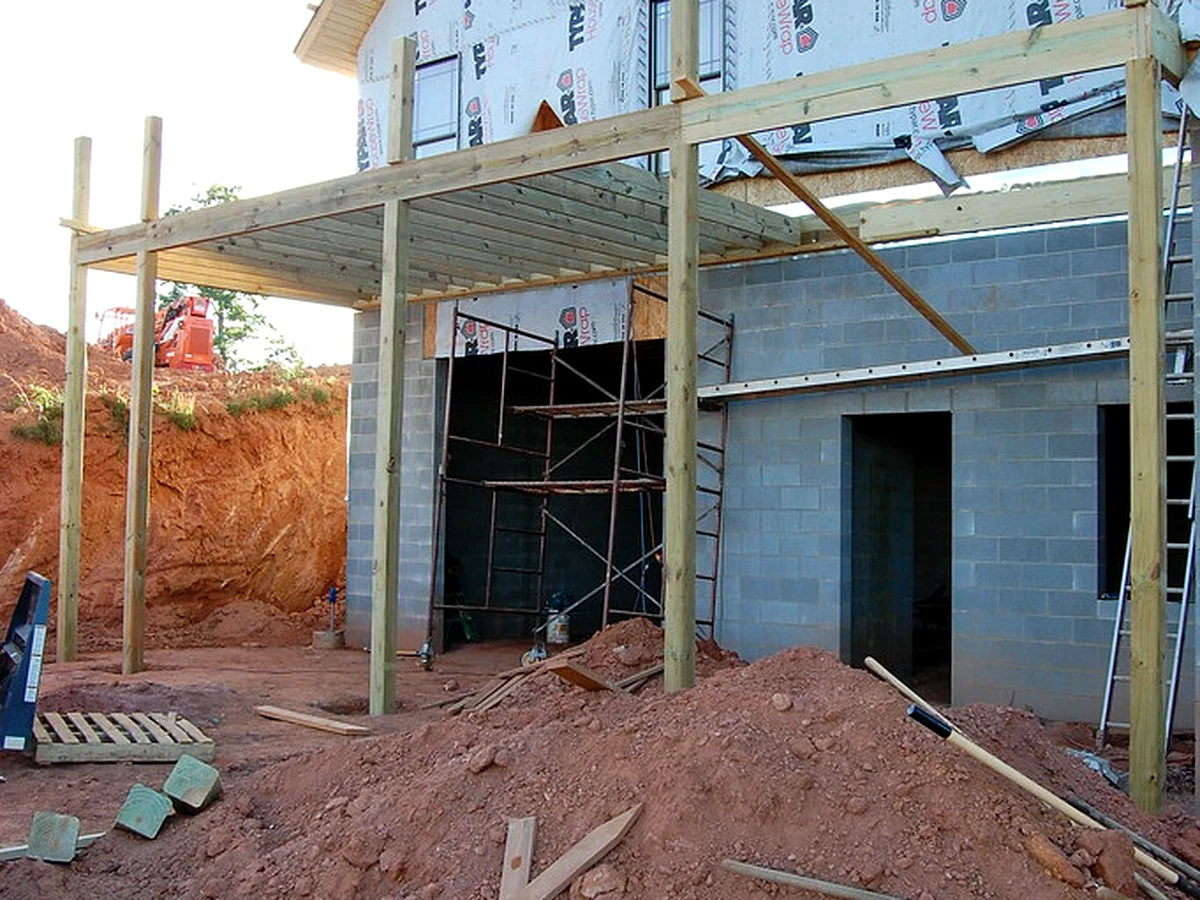
The ledger is the horizontal board that fastens the deck to the house frame. If it fails, the deck separates from the building and drops. Get underneath with a flashlight, or lean over the edge where the deck meets the wall, and look for four things:
- Flashing. There should be a metal or membrane flashing over the top edge of the ledger, tucked behind the siding, directing water out and away. If you cannot see any flashing, water has likely been running down behind the ledger for the life of the deck.
- Fasteners. The ledger should be attached with through-bolts or structural lag screws in a staggered pattern — not nails. Nails alone are a serious finding.
- Staining and softness. Dark streaking, white crystalline deposits, or a spongy feel when probed all point to long-term water exposure.
- Gaps. Any visible separation between the ledger and the house, or fasteners that have begun to pull, means load is already shifting.
A ledger with no flashing and nail-only attachment is the classic profile of a deck that fails without warning. That finding alone justifies stopping and getting a professional opinion before the deck is used again.
2. Posts and Footings
Posts rot from the bottom up, at and just below grade, where soil holds moisture against the wood. This is also the least visible part of the deck, which is why it goes unnoticed for years.
Look at where each post meets the ground or its concrete footing. A post should sit on a footing with a metal standoff bracket that lifts it clear of standing water — not buried directly in soil, and not sitting flat in a puddle-prone spot. Check for dark discolouration, mushrooming or splaying at the base, soft fibre, and any fungal growth. Push firmly against the post at chest height and watch the base for movement.
Posts buried in soil are common on older GTA decks and are effectively on a clock. Even pressure-treated lumber has a finite service life in direct ground contact, and once the base goes soft the post is carrying load on compromised fibre.
3. Joists, Hangers and Fasteners
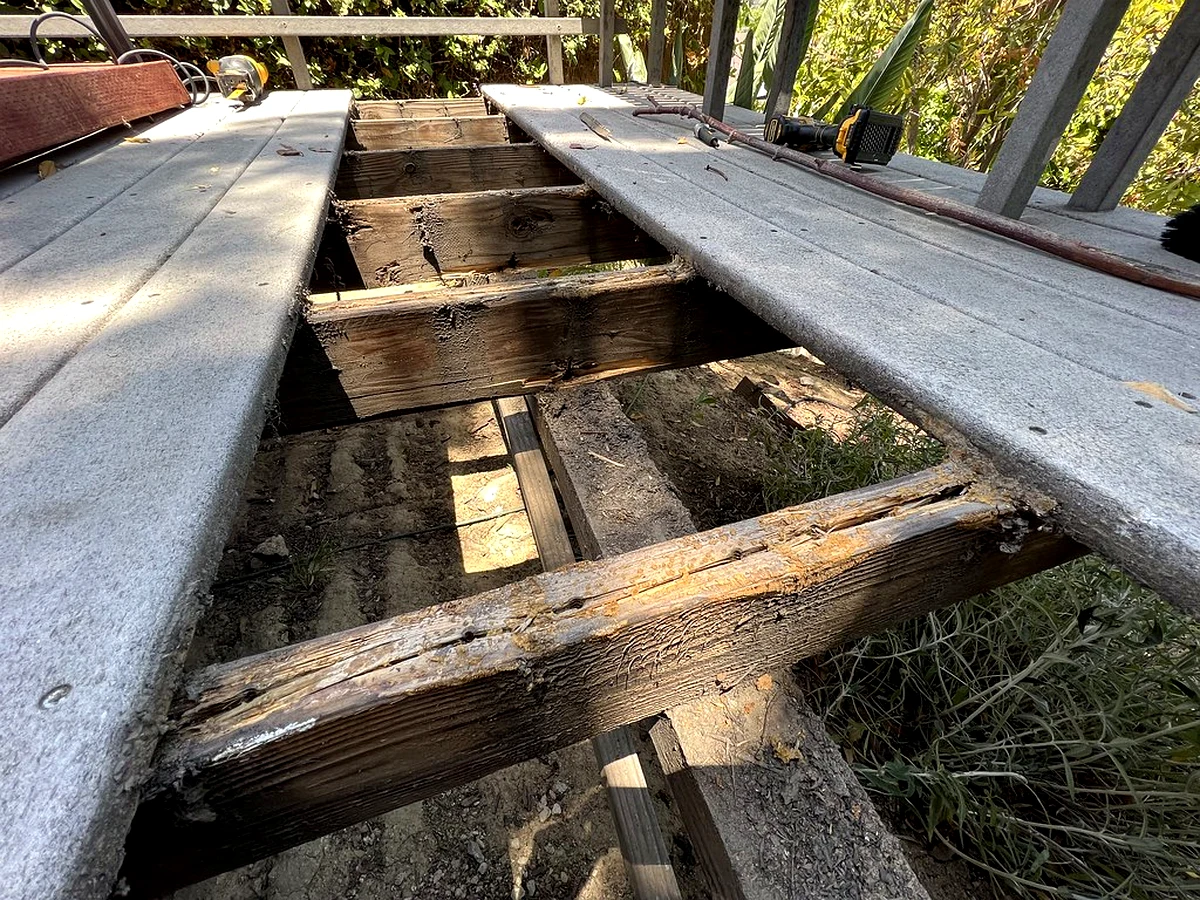
From underneath, scan the joists — the repeating boards that carry the decking. You are looking for water tracks, dark staining, cracks that run along the grain, and any joist that has visibly sagged relative to its neighbours.
Then look at the metal. Joist hangers should be fully nailed with the correct fasteners in every hole, not partially filled. Check for rust bleeding, which shows as dark streaks running down the wood below a connector. Surface rust on galvanized metal is normal; flaking, pitting, or a connector that has clearly thinned is not.
One detail that catches people out: mixing incompatible metals accelerates corrosion. If a previous repair used fasteners that do not match the original hardware, the joint may be corroding faster than anything around it.
The Screwdriver Probe Test
This is the single most useful thing you can do, and it takes seconds per location. Press the tip of a flat-head screwdriver firmly into the wood — not stabbing, just steady pressure — at the base of each post, along the bottom edge of the ledger, at the ends of joists, and at the base of stair stringers.
- Sound wood resists. The tip may dent the surface a millimetre or two and stop.
- Early decay lets the tip sink perhaps five millimetres with moderate pressure, and the fibre feels spongy rather than crisp.
- Advanced rot lets the screwdriver push in easily, often a centimetre or more, and the wood may crumble or come away in damp, stringy fibres.
Probe the end grain specifically. A post can be perfectly solid across its faces and hollow at the cut end where water has been wicking in for years.
4. Stairs, Railings and Guards
Stairs take the most concentrated load on a deck and sit closest to the ground, which makes stringers — the notched boards carrying the treads — a frequent rot site. Probe each stringer at its base. Check that treads are firmly fastened, level, and not cupped enough to hold water or shed a foot.
For railings and guards, grip the top rail and push firmly outward, the way someone would if they stumbled or leaned into it. It should feel solid. Any flex, creaking, or visible movement at the post connection is a finding — guards exist specifically to stop a fall, and a guard that moves is not doing that job. Pay particular attention to the posts themselves where they bolt through to the frame, since that connection carries the entire load of anyone leaning on it.
What Each Finding Means
| Finding | Severity | What it usually means |
|---|---|---|
| Grey, rough, splintering surface boards | Cosmetic | Finish has failed; clean, sand and refinish |
| One or two soft deck boards | Minor | Board replacement, then refinish to match |
| Rust streaks below joist hangers | Moderate | Fastener or connector replacement; inspect surrounding wood |
| Soft fibre at post base or joist ends | Serious | Structural repair; load-bearing member is compromised |
| Railing or guard that moves under pressure | Serious | Stop using until repaired — this is the fall-protection system |
| Ledger with no flashing, nails only, or soft wood | Critical | Stop using the deck; get a professional assessment now |
The dividing line for homeowners is straightforward: surface and single-board issues are maintenance, and anything involving a post, joist, ledger, or guard is structural. Structural work on a deck can also cross into permit territory depending on scope, which we cover in our guide to deck permits for restoration in Toronto and the GTA.
If the inspection turns up rot but the frame is largely sound, restoration is usually far cheaper than replacement — we walk through that calculation in when to replace versus restore a deck. Our own assessments are free and done on site rather than over the phone, precisely because these findings cannot be judged from a photograph. Where the structure is sound, restoration work carries our 3-year written warranty.
Frequently Asked Questions
How do I know if my deck is structurally unsafe?
Check the structure rather than the surface. The critical findings are a ledger board with no flashing, nail-only attachment, or soft wood where the deck meets the house; posts that are soft at ground level or have shifted; joists or beams with soft ends; and any railing or guard that moves when you push against it firmly. Use a flat-head screwdriver to probe: if the tip sinks in easily and the fibre feels spongy or crumbles, that member has decay and the deck should not be used until it is assessed.
How often should a deck be inspected?
Once a year is a sensible cadence for a wood deck in Ontario, ideally in spring after the snow has gone, when winter damage is easiest to spot and you still have the season ahead to fix anything. Decks over about ten years old, decks with posts set directly in soil, and decks that carry a hot tub deserve closer attention. A full inspection takes roughly thirty minutes with a flashlight and a screwdriver.
What is the most common cause of deck collapse?
Ledger board failure. The ledger is the board that attaches the deck to the house, and when it lets go the entire structure separates from the building at once. The usual causes are missing or incorrectly installed flashing that allows water to run down behind the ledger and rot it, and attachment with nails rather than through-bolts or structural lag screws. Both problems are invisible from the deck surface, which is why the ledger is the first thing to inspect.
Can a deck with rot be repaired, or does it need replacing?
It depends on which members are affected. Rot confined to deck boards, a few joist ends, or stair treads is normally repairable, and restoring a structurally sound deck costs far less than building a new one. Widespread rot through posts, beams, and the ledger together usually means replacement is the better value, because you would be rebuilding most of the load-bearing structure anyway. An on-site assessment is the only reliable way to tell, since the critical members are the ones you cannot see from above.
Does staining a deck prevent rot?
A good penetrating finish slows the process considerably by limiting how much water the wood absorbs, but it is not rot-proofing. Rot starts where water sits and cannot dry out — end grain, post bases in soil, and areas under planters or beneath a hot tub. Finish helps most on exposed faces and end grain, and least in permanently damp locations. Good drainage, keeping soil and debris away from framing, and sealing cut ends matter as much as the coating itself.
Get Your Free Quote
Tell us about your project — we get back within 1 business day with honest pricing.